 If you’re a new blogger or small business owner, you probably know that Pinterest offers amazing possibilities for promoting your blog or business – but you may feel intimidated by it. Even if you’ve been blogging or running your business for years, you may have avoided Pinterest because it you aren’t quite sure how it works and you don’t have time to figure it out.
I know those feelings well. When I started using Pinterest I had no idea what I was doing. And I’m not a visual person, so it didn’t seem like an ideal platform for me. But, I knew it could make a huge difference for my blog, so I decided to figure it out. And I’m glad I did – currently, more than 60% of my blog traffic comes from Pinterest.
If you’re feeling intimidated or overwhelmed but want to give it a try, here are 7 basic Pinterest tips to help you get started:
• Understand what Pinterest is and how it works.We tend to think of Pinterest as a social media site, but it’s actually a search engine. It’s a place where people go when they’re looking for tips, ideas, recipes, products, inspiration or information. This means that you need to create pins that look great AND are primed to show up in search results. People are more likely to find your pins by searching than by browsing your boards, so you have to plan accordingly.
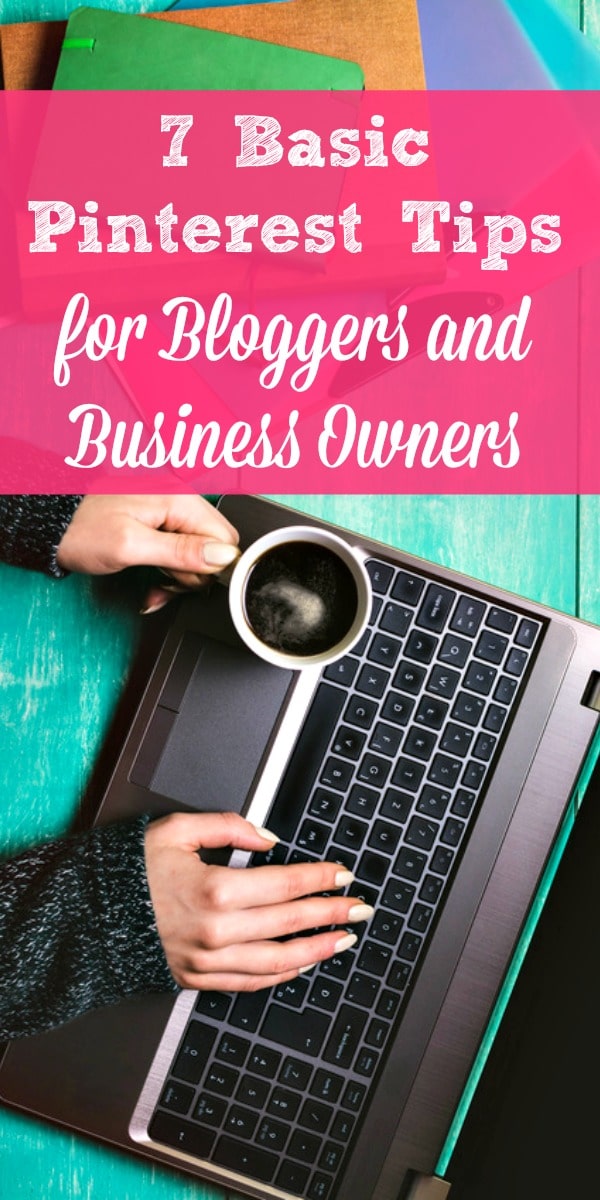
• Create vertical pins.Pinterest prefers vertical images, and so do most Pinterest users. So create at least one vertical image for each blog post or product you want to promote. Make sure the images are at least twice as tall as they are wide – I’ve used 600×1200, 700×1200 and 700×1400 images for Pinterest, and they all work fine. You can use free versions of PicMonkey or Canva to create, resize and crop your Pinterest graphics.
• Use a photo with a text overlay.Use your own photo, one you download from a free photos site (check the license requirements), or one you purchase from a commercial photo site. I purchase many of my photos from Fotolia (I buy credits and use them as I need them), but lots of other sites sell photos too. Resize or crop your photo to the correct size, then add an overlay (usually a rectangle, square or circle) and fade it out slightly, so that the photo starts to show through. Then add text in a contrasting color on top of the overlay. I do all of this in PicMonkey, because I found it to be easier to learn than Canva. But many people swear by Canva.
Pick two or three fonts that you like and use them consistently. I used to drive myself crazy trying to pick out fonts for every pin, and it wasted so much time. Now I stick with the same two fonts on almost every pin.
• Use keywords in your pin description.To find out what people are searching for that’s related to your blog post or product, type a related word or phrase into the Pinterest search bar and see what terms pop up. Let’s say you’re creating a pin for a blog post about healthy recipes. If you type “healthy recipes” into the search bar, several phrases show up – “healthy recipes easy,” “healthy recipes dinner,” and “healthy recipes on a budget.”
Now let’s say your blog post focuses on easy healthy recipes, so choose that term to search. The search results bring up a number of boxes at the top of the page. Those boxes include related keywords that people are searching for when they search for “easy healthy recipes” – including weight loss, meals, dinner, kids, on a budget, etc.
Because your blog post focuses on easy healthy dinner recipes for families with kids, you want to be sure to make note of those words and use them in your pin description.
• Write a conversational pin description that offers a solution to a problem.Think about the kind of person who could benefit from your blog post or product and write as if you’re talking to that person. Don’t just lump all of your keywords together and call it a description! Instead, write it as if you’re speaking to your ideal reader and offering a solution to her problem.
For example, for the easy healthy recipes pin you might write – “Need help getting a healthy family dinner on the table on your busiest, craziest days? These 12 easy, healthy recipes take no more than 30 minutes from start to finish. They save time and money, and kids of all ages love them.”
Also, don’t use hashtags, unless you’re participating in a sponsored campaign that requires them. If you need to add an additional keyword or two at the end of your pin description, add them this way – “…and kids of all ages love them. Budget friendly | Picky eaters”
• Pin to your own boards and group boards. Create a number of boards related to your content or products. Think broadly – if a lot of your content relates to healthy eating, for example, create several related boards – Healthy Eating, Healthy Recipes to Try, Healthy Family Dinners, etc. Do that for all of your topics or products. Then, over time, pin all of your relevant pins to those boards.
In addition, look for and ask to join group boards related to your content or products. Be aware, though, that the power of group boards isn’t as strong as it used to be. Group boards that include attractive vertical pins that link to high-quality content can get your pins in front of lots of Pinterest users and improve your re-pin and click-through rates.
But, group boards that include low-quality images that link to low-value content won’t help you. So check the quality of the pins on a board before you ask to join it. And if a board you’ve already joined drops in quality, or if it’s just not performing well for you, consider leaving it.
• Pin regularly and consistently. I pin 20-30 pins a day, 70-80% my content and 20-30% other people’s content. Some people pin more content from other people, even as much as 50%. You can start with a smaller number of pins per day and work your way up. Ideally you should pin throughout the day, rather than adding all of your pins for the day at one time. But, that’s tough to do when you have 100 other things going on too!
For that reason, many people use a pin scheduler. I use Tailwind, but I’ve also used Ahalogy and Board Booster. Ahalogy is free, and both Tailwind and Board Booster offer a free trial. Again, you can work your way up to using a scheduler. I pinned manually for a long time before I started scheduling my pins, and you can do that too.
It takes some time and effort to master Pinterest, but these tips will help you get started with the basics. If you implement them consistently over time, you should begin to see increases in your re-pins and traffic to your blog, website or online shop.

Web Box says
This can really help me out. I am starting my own business blog.
GC says
Great – I hope it helps. Good luck with your business.
Gaye
Trisha B. says
Thank you for these helpful tips. I’ve been using the PicMonkey app and cropping with their Pinterest preset, but that is 600X900. Should I not use that moving forward if I want to increase my traffic? I appreciate you writing this article.
GC says
Hi Trisha – That size isn’t wrong, but my impression is that slightly more vertical pins do better. The Pinning Perfect course by Blog Clarity (which is very good), recommends an image ratio between 2:3 (600 x 900) and 1:2.8 (735 x 1470). The latter just seems too large to me when I add it to my blog posts, so I’ve kicked it back a bit to 600 x 1200. So I think what you’re doing is fine, you just might want to experiment with a slightly more vertical size and see how it works for you.
Gaye
Trisha B. says
Thank you, I appreciate the follow up info!!